
Single webpage
1. Navigate to Add Webpage Go to Webpage → Add Webpage in the left sidebar. Make sure the Single option is selected. 2. Fill in the required fields
3. Configure keywords (optional)
Click Advanced Options to set keyword rules. Separate multiple keywords with a comma.
- Keywords to include — an allowlist. An alert is triggered if these words are not found on the page.
- Keywords to exclude — a blocklist. An alert is triggered if these words are found on the page.
Multiple webpages
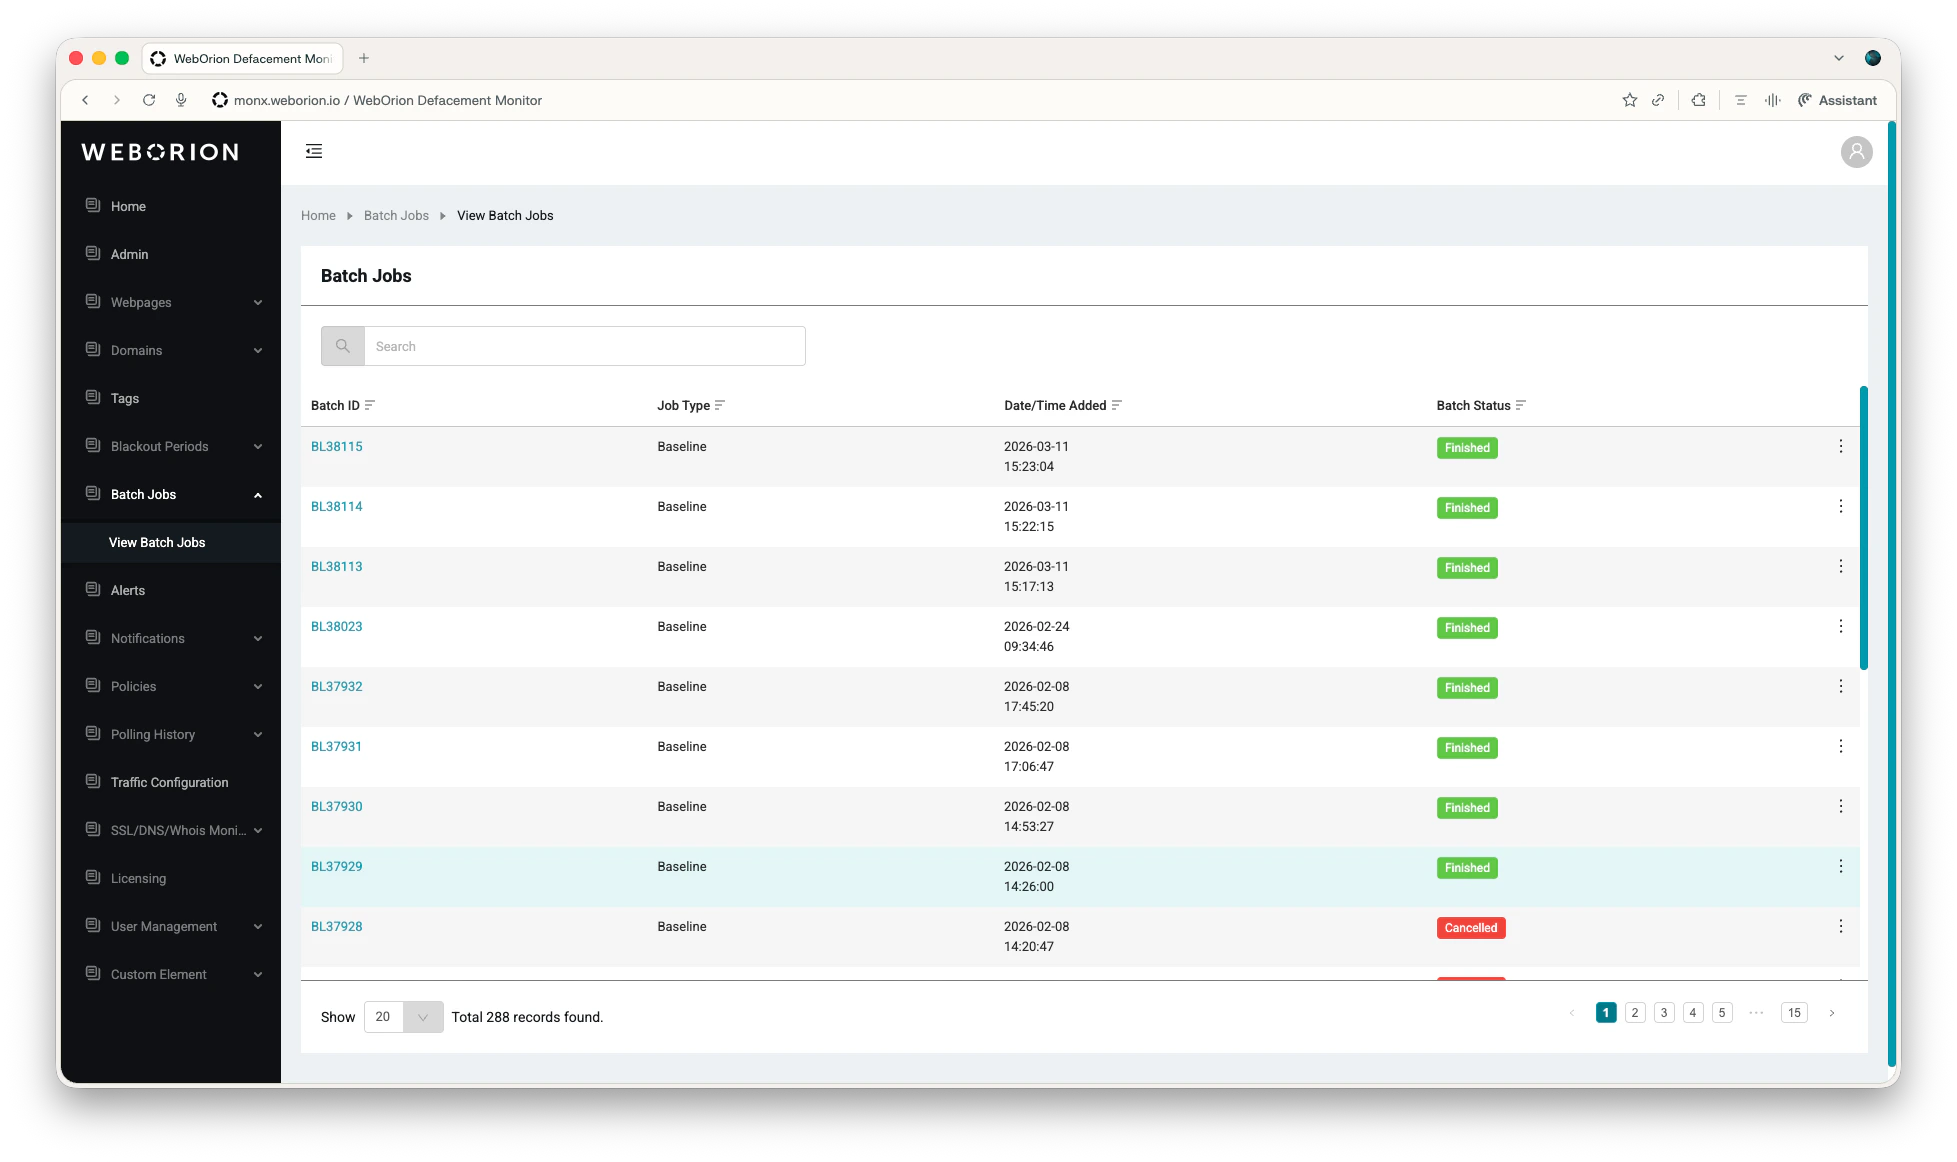
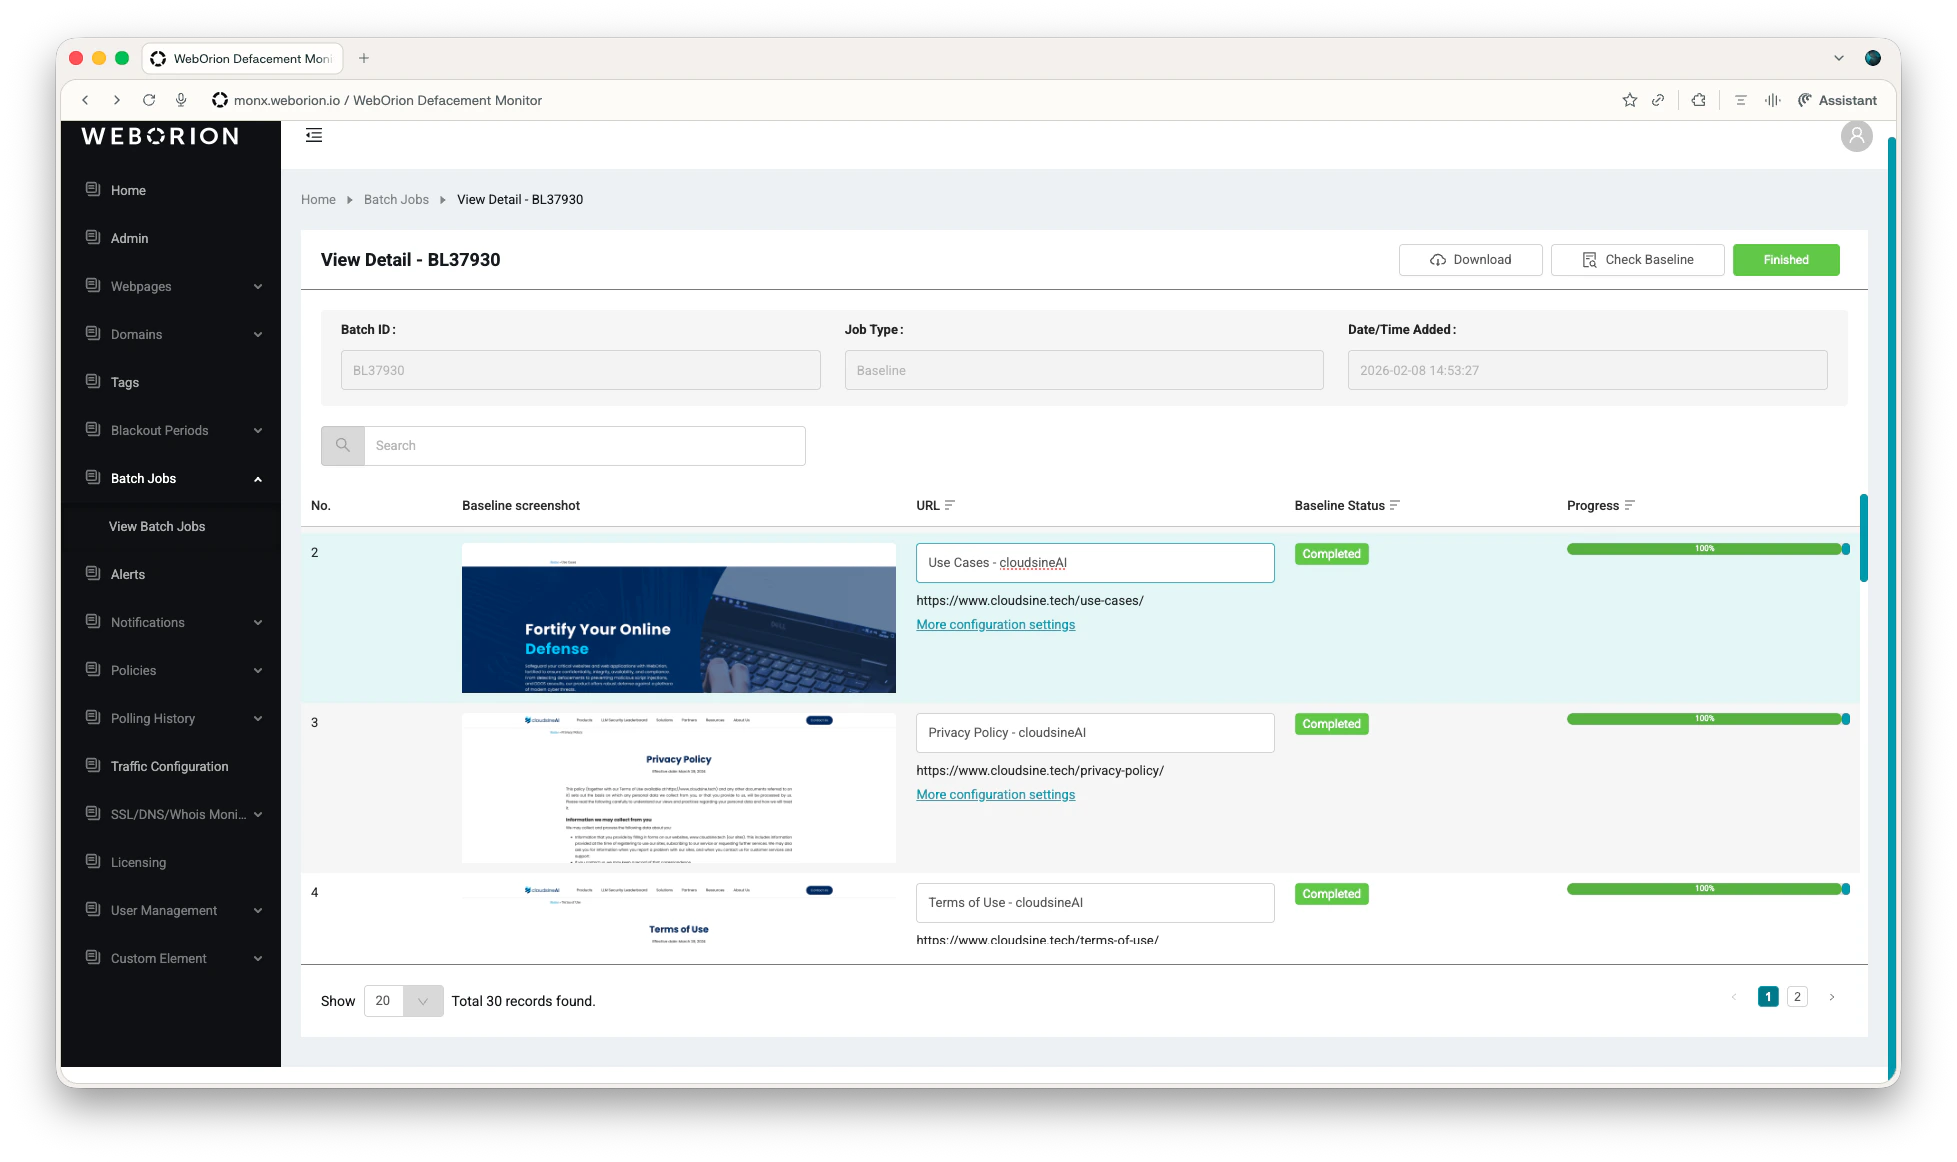
If you have several pages to onboard at once, use the Multiples option to add them in bulk. WebOrion will queue them as a batch job and baseline each one automatically. 1. Navigate to Add Webpage Go to Webpage → Add Webpage in the left sidebar. Select the Multiples option. 2. Fill in the required fields
Example URL list:
- Keywords to include — an allowlist. An alert is triggered if these words are not found on the page.
- Keywords to exclude — a blocklist. An alert is triggered if these words are found on the page.
Keyword rules set here apply to all URLs in the batch. For per-URL keyword configuration, edit each webpage individually after baselining.
Tagging a webpage
- Go to Tags → Add New Tag
- Enter Tag Name and click Create
- Click ⋮ → Edit & View URLs on the tag you want to add URLs to
- Click Add URL Relations.
- Select the desired URLs and click Add
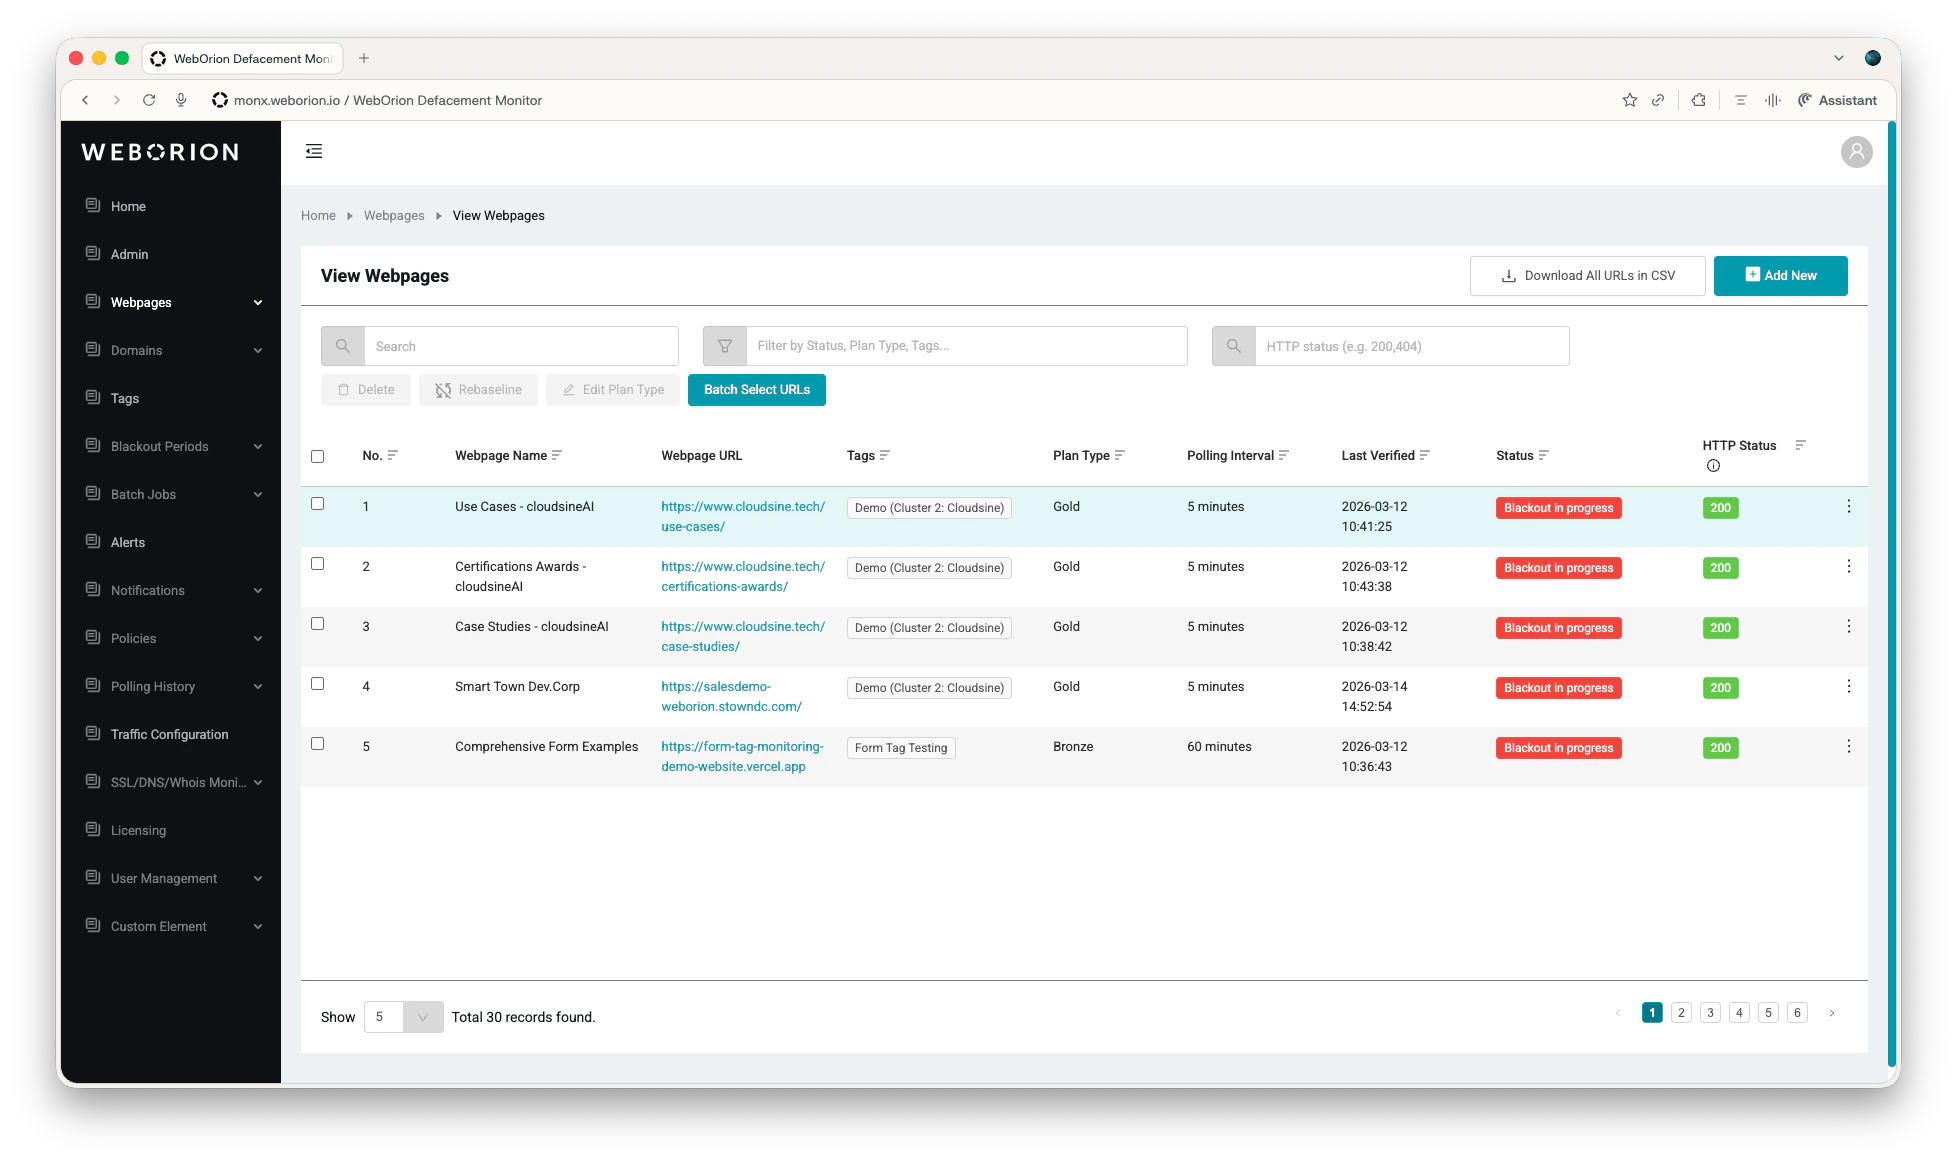
Filtering by tag
From Webpage → View Webpages, filter the list by tag to narrow your view to a single category — for example, all pages for one client or all high-priority pages.Archiving a webpage
Archiving lets you stop monitoring a webpage without losing its history. When a webpage is archived, monitoring stops and its plan slot is freed up for another. Alerts, policies and verification history are retained for 3 months online for auditing. Archived webpages are hidden from the Active tab, dashboards, notifications and webpage pickers. They appear only under the Archived tab. To archive a webpage:- Go to Webpage → Webpages and click onto the Active tab.
- Select the webpages you want to archive. You can choose multiple webpages using the filters and checkboxes.
- Add a remark for identification.
- Click Archive to confirm.
Archiving does not delete any webpage data immediately. Past alerts from archived webpages are still viewable under the Alerts tab.
Restoring a webpage
Restoring brings an archived webpage back into monitoring. It resumes automatically from the webpage’s last baseline. If there have been any changes to the webpage since its archival, it is recommended to rebaseline the page. To restore a webpage:- Go to Webpage → Webpages and click onto to Archived tab.
- Select the webpages you want to restore:
- For a single webpage, click ⋮ → Restore on the chosen URL
- For multiple webpages, select the checkboxes and click Restore in the toolbar.
- In the Restore dialog, choose how to bring them back:
- Leave the plan blank to restore each webpage on its original plan and polling interval
- Or select a plan type and polling interval to apply to every selected webpage
- Click Restore to confirm. Monitoring will resume automatically and the webpage reappears on the Active tab.