Contact Groups let you route alerts for different URLs to different sets of people. For example, you might want alerts for one page to go to your webmaster, while a vendor’s team receives alerts for a separate set of pages.

Creating a contact group

  1. Go to Notification → Contact Groups → Add New
  2. Enter a Contact Group Name
  3. Click Save
Repeat this for as many groups as you need. A DEFAULT group exists out of the box and cannot be deleted.

Adding contacts to a group

Add Contacts To Group Once a group is created, assign contacts to it by editing each contact individually:
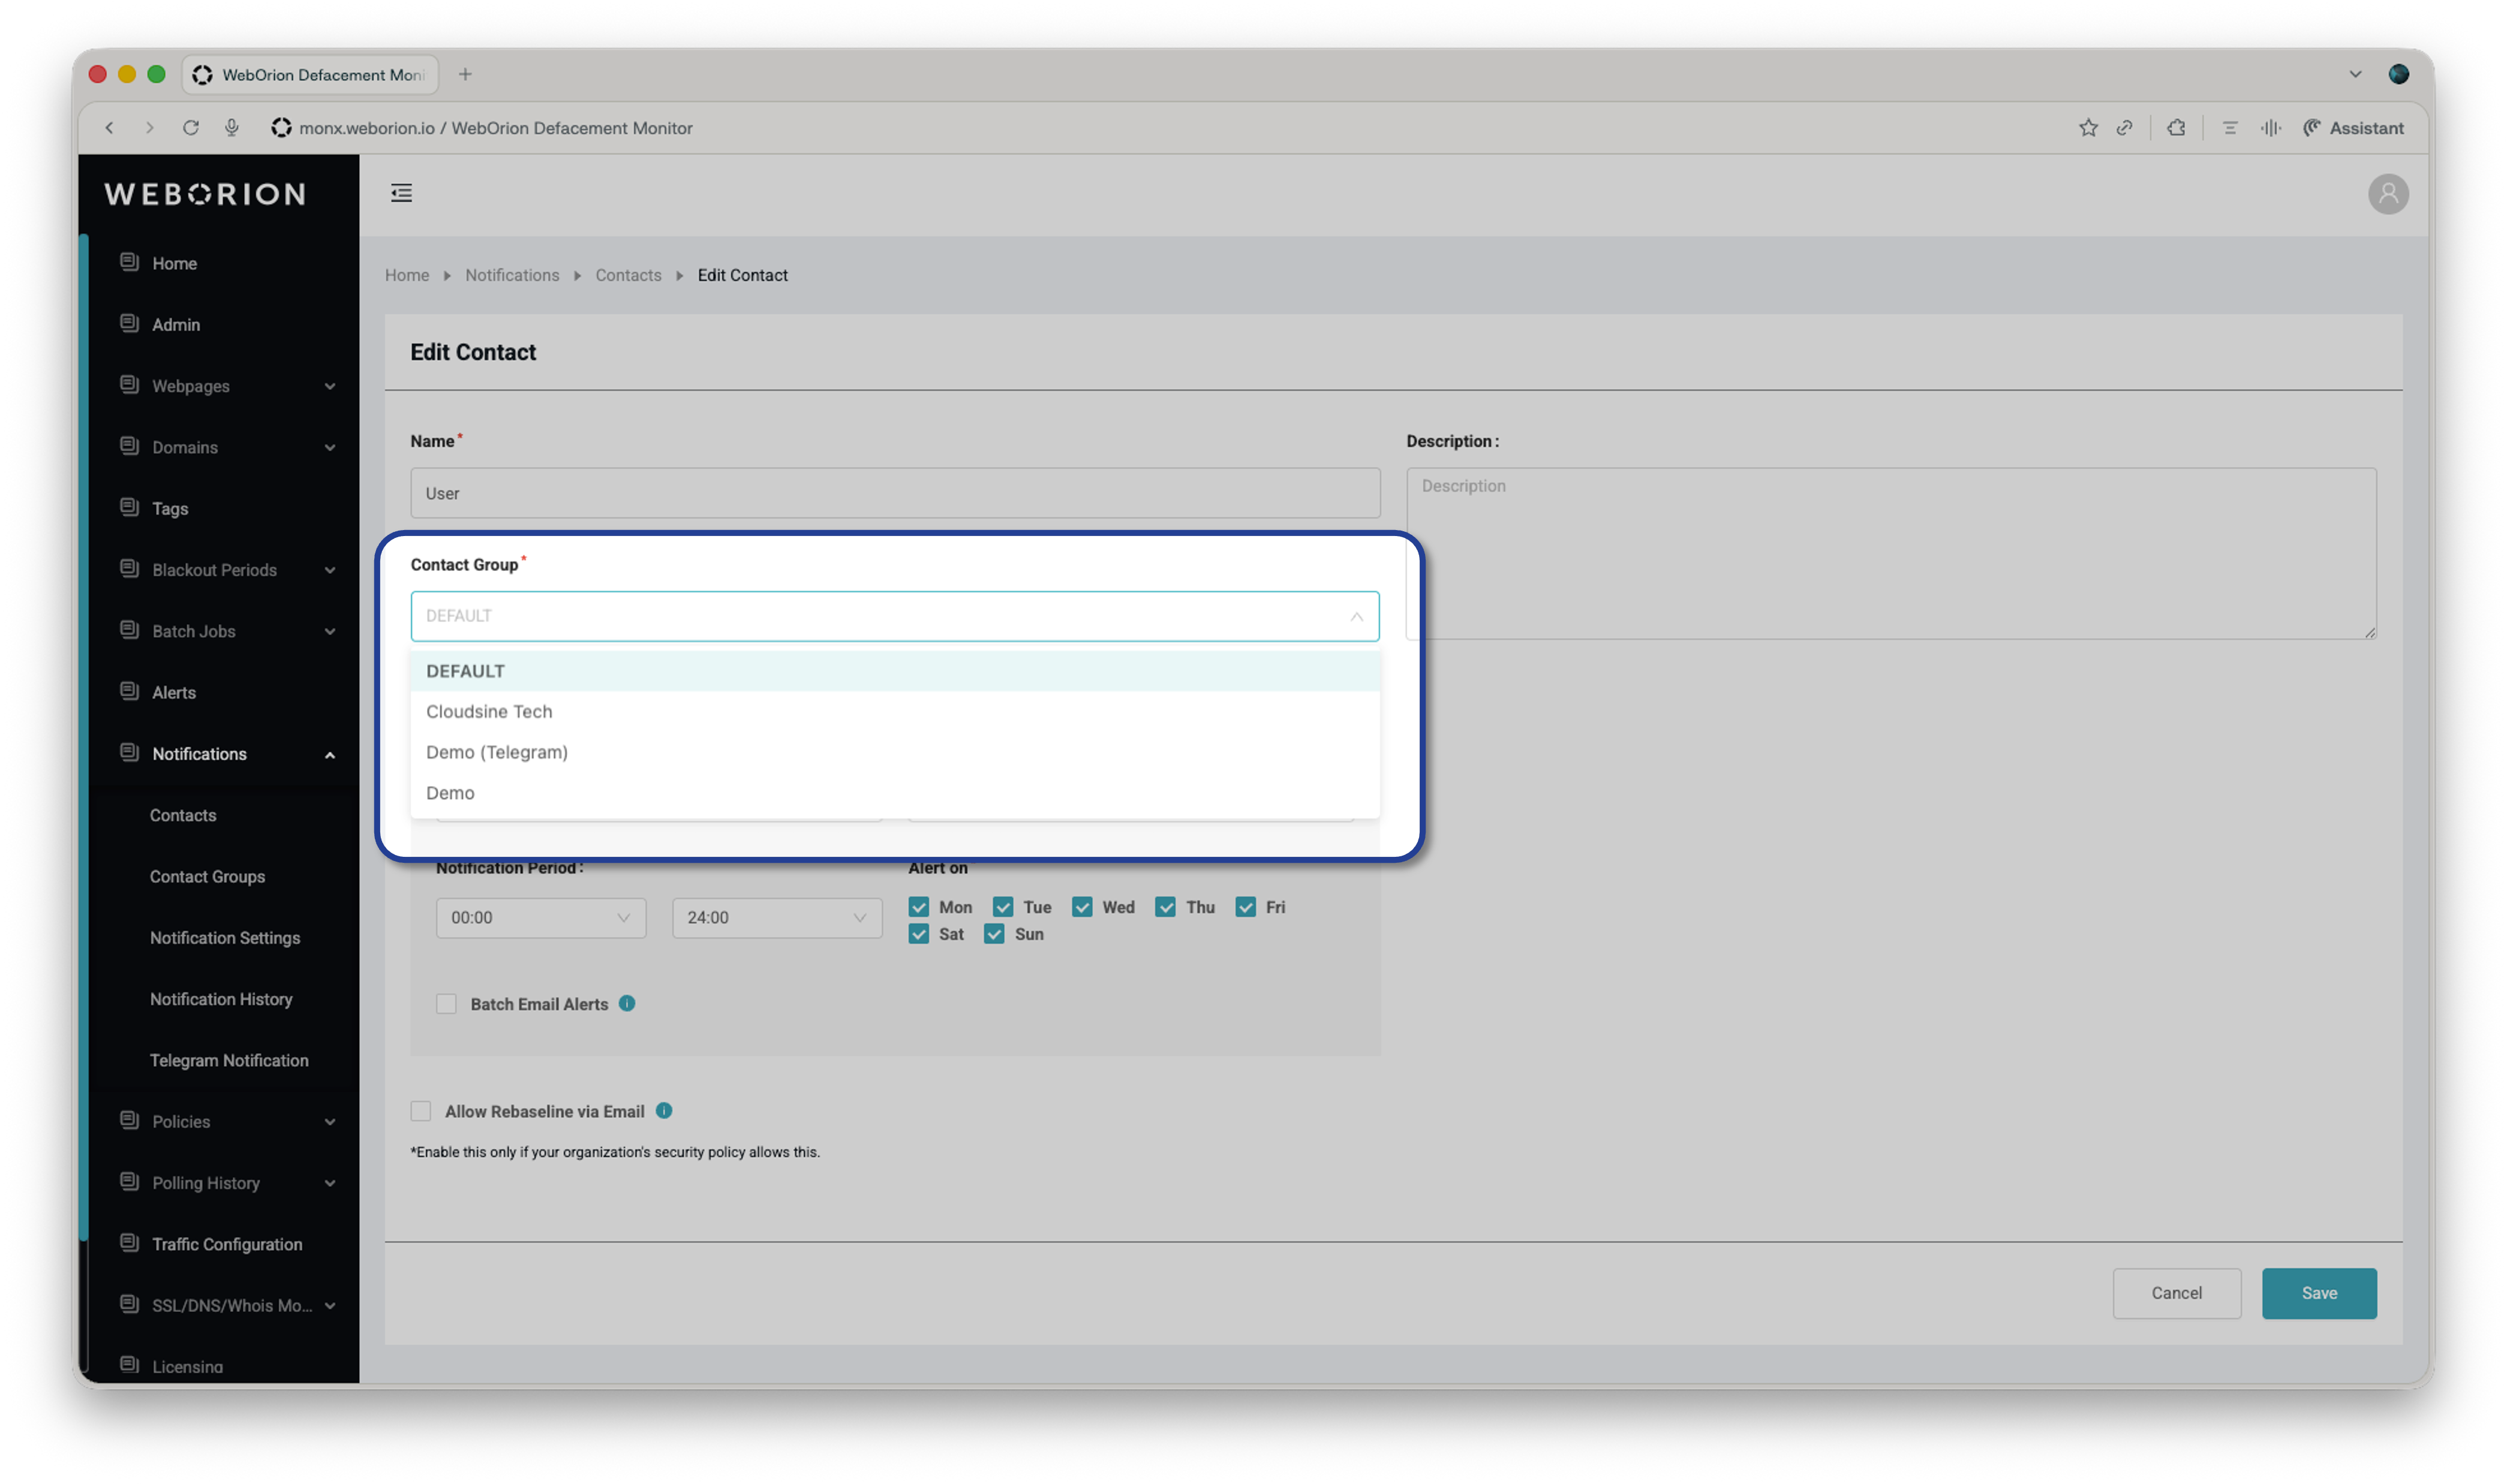
  1. Go to Notification → Contacts
  2. Click Edit on the contact you want to reassign
  3. Change the Contact Group dropdown to the desired group
  4. Click Save
A contact can only belong to one group at a time. If you need the same person to receive alerts from multiple groups, add them as separate contacts.

Next step

Once your groups are set up, assign them to specific URLs via Notification → View Notifications. See Notifications for details.